


Welch plug removal and installation for the Walbro carburetor
by Had Robinson
updated June 7, 2023
These notes are for the Walbro. The photos below are of the WG, the WB and others are similar.
There are two ways to remove Welch plugs.
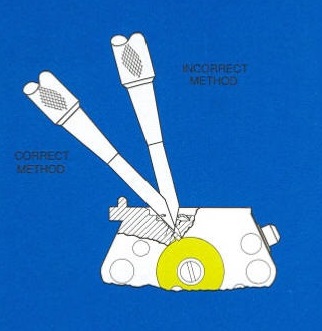
One way is with the Walbro 500-16 tool. However, this tool is expensive ($33 or more) and requires skill in order to not ruin the Welch plug well and the tiny passages beneath it. If you happen to have this tool, hold the punch at a shallow angle to the Welch plug and drive it through with a hammer. Of course, if you do not do it correctly, you have ruined the carburetor. General sets to remove Welch plugs in different makes of carburetors are available but they are also expensive ($70-150) and contain many more tools than are needed to service the Walbro carburetor. The drawing below (from Walbro) shows the correct angle.
 The second (and much easier and better) way to remove a Welch plug uses the
following tools:
The second (and much easier and better) way to remove a Welch plug uses the
following tools:
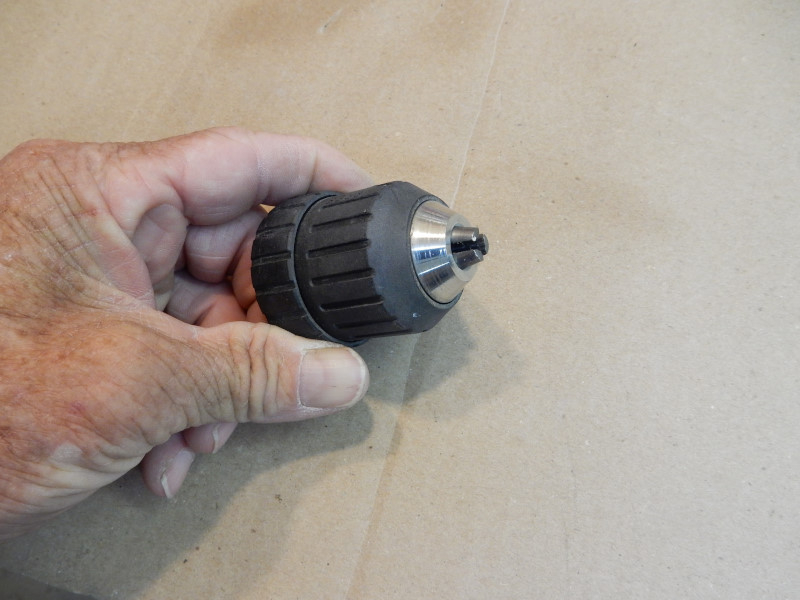
- drill press (best) or a drill chuck (take one off your electric drill) Note: If you are exceptionally skilled with a hand-held drill, you can use it. You must stop the instant the bit goes through the Welch plug.
- 3mm (1/8") or 2.75mm (7/64") drill bit. The size is not that important.
If you take the chuck off your electric drill, note that the center screw that keeps the chuck from coming loose has a reverse thread.
For installing the plug you will need this tool:
- punch, rod, or bolt that is the slightly less than the diameter of the Welch plug
For the WG, a 6.5mm (1/4") punch or the end of an 8mm bolt works well. Whatever is used must fit inside the rim at the top the Welch plug well. If it is too narrow, the new plug will not be correctly set in the well. If a bolt is used, the end of the bolt must be perfectly flat.
Plug removal
Secure the carburetor in a vise, if possible, use (2) pieces of wood to protect the faces of the carburetor throat.
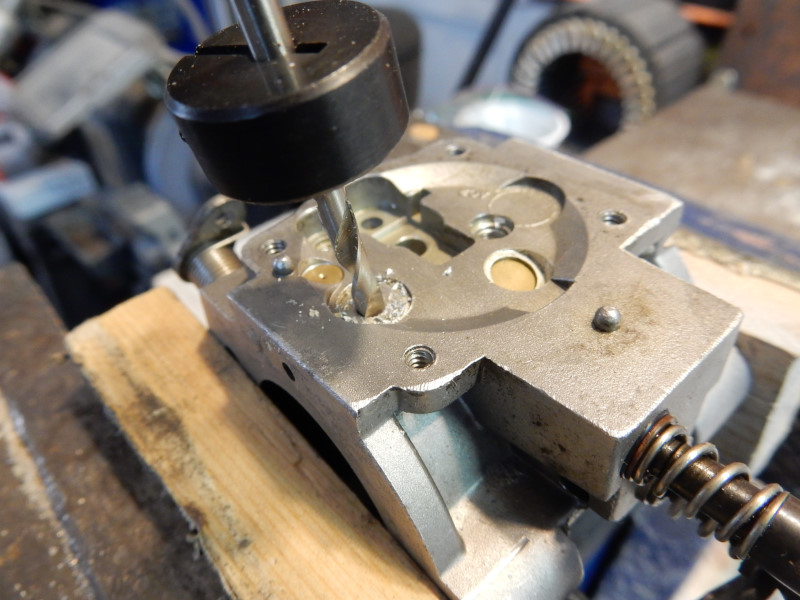
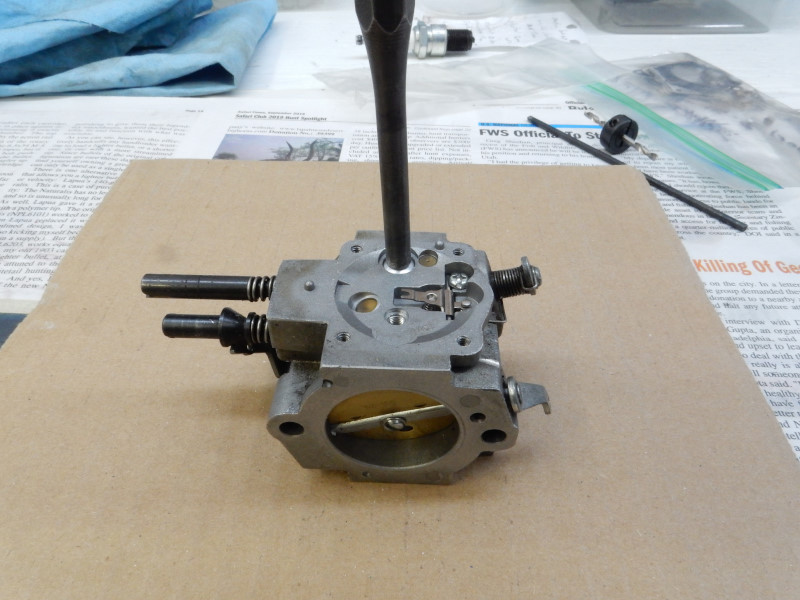
Drill a hole in the center of the Welch plug using the chuck and the bit. The hole is best made with a precision drill press or by hand, slowly and carefully. Apply steady pressure until the bit starts to penetrate through the plug. At this point, pull up on the bit just enough to keep it from bottoming out in the well. It is relatively easy to cut through aluminum with a sharp steel bit by hand. The tools used below are specially made for the removal of Welch plugs but a chuck and a bit work just the same way. Thankfully, if the hole is in the exact center of the plug and goes to the bottom, there are no idle progression holes there that could be damaged. The photo below is of the WG carburetor.
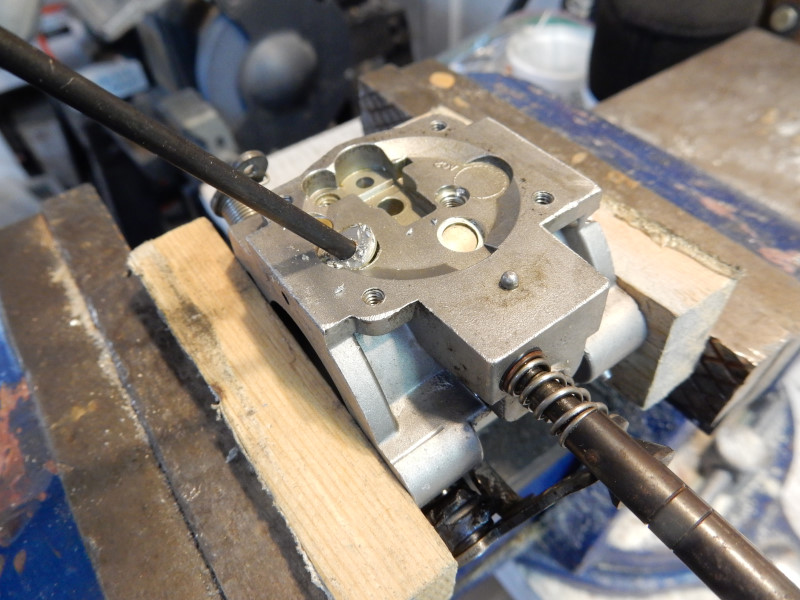
Once the hole is made, push the pin-punch or the other end of the drill bit just into the hole and move the punch to one side. The plug will come right out.
After the plug is removed, thoroughly clean the hole with compressed air. The best way to do this is to use a very narrow tubed compressed air tool or a can of compressed air used for cleaning computer keyboards. Put the tube in a corner of the well where there are no holes, lightly press down on the tube and apply air. The air will rush over the surface of the main hole (but not directly down the tiny holes) and it will remove the bits of aluminum from drilling the hole in the plug.
On the WG, also blow air through the main jet what feeds both the nozzle jet in the throat of the carburetor but also the idle circuit. This part of the idle circuit may have debris from drilling a hole in the Welch plug.
After this, clean the carburetor with compressed air and carburetor cleaner. Examine the carburetor carefully with a magnifier. You must be sure it is absolutely clean and free of any debris. The tiny holes in the idle circuit can be visually examined with a bright light to be sure they are clear.
At this time, pilots can modify an idle progression hole in the carburetor. When finished, continue with the steps below.
Plug installation
Use the punch or bolt to set the Welch plug. If you use a bolt, you must be sure that the end is flat. When using any tool, be careful not to contact the soft rim of the hole.
Exactly center the punch, rod, or bolt on top of the plug and tap it gently with a small hammer making the convex surface of the plug flat. This seals the plug. The plug must be flat or it may interfere with the operation of the metering lever diaphragm. If the plug leaks, the idle mixture needle will not work well.
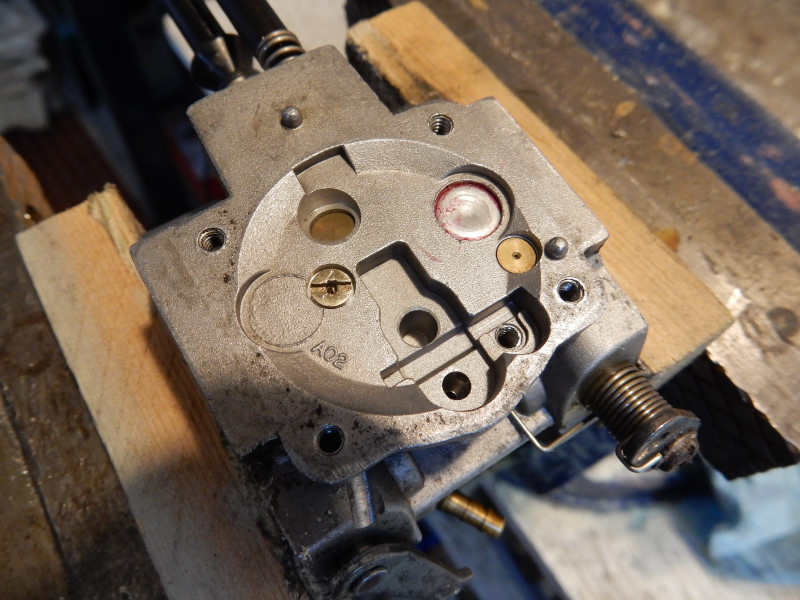
The finished Welch plug on a WG carburetor. When the convex surface is flattened, the plug expands and tightly seals the well.
Reassemble the carburetor, adjust, and test.
![]()

